


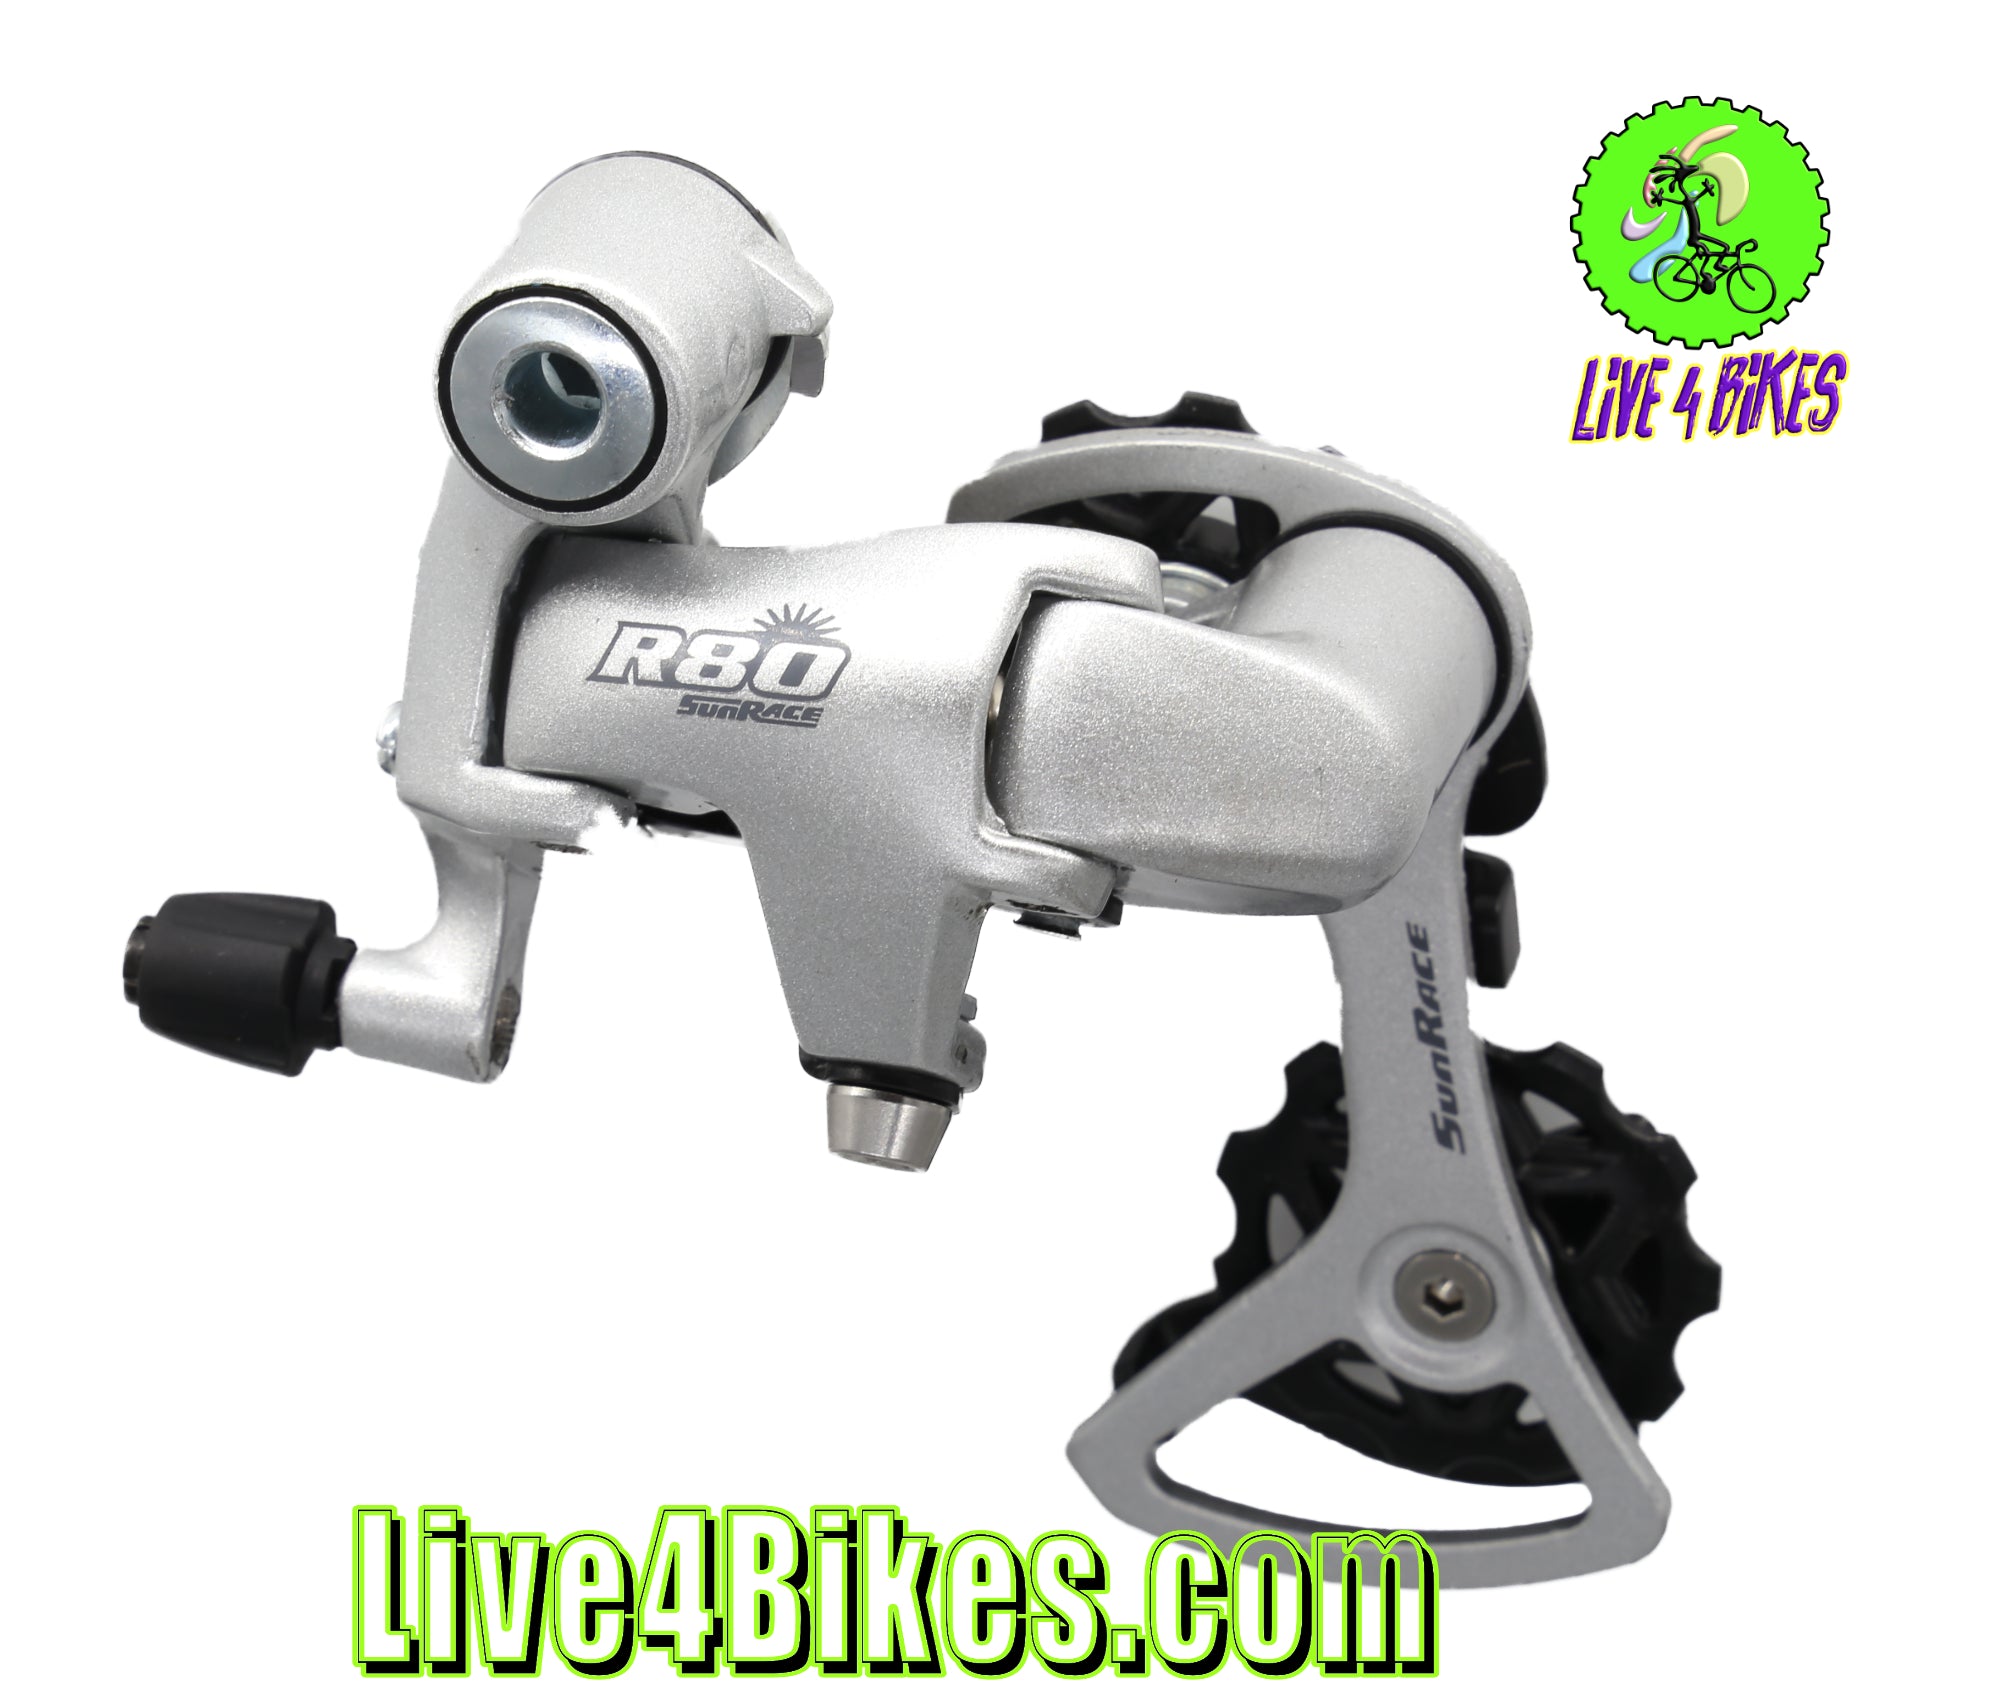

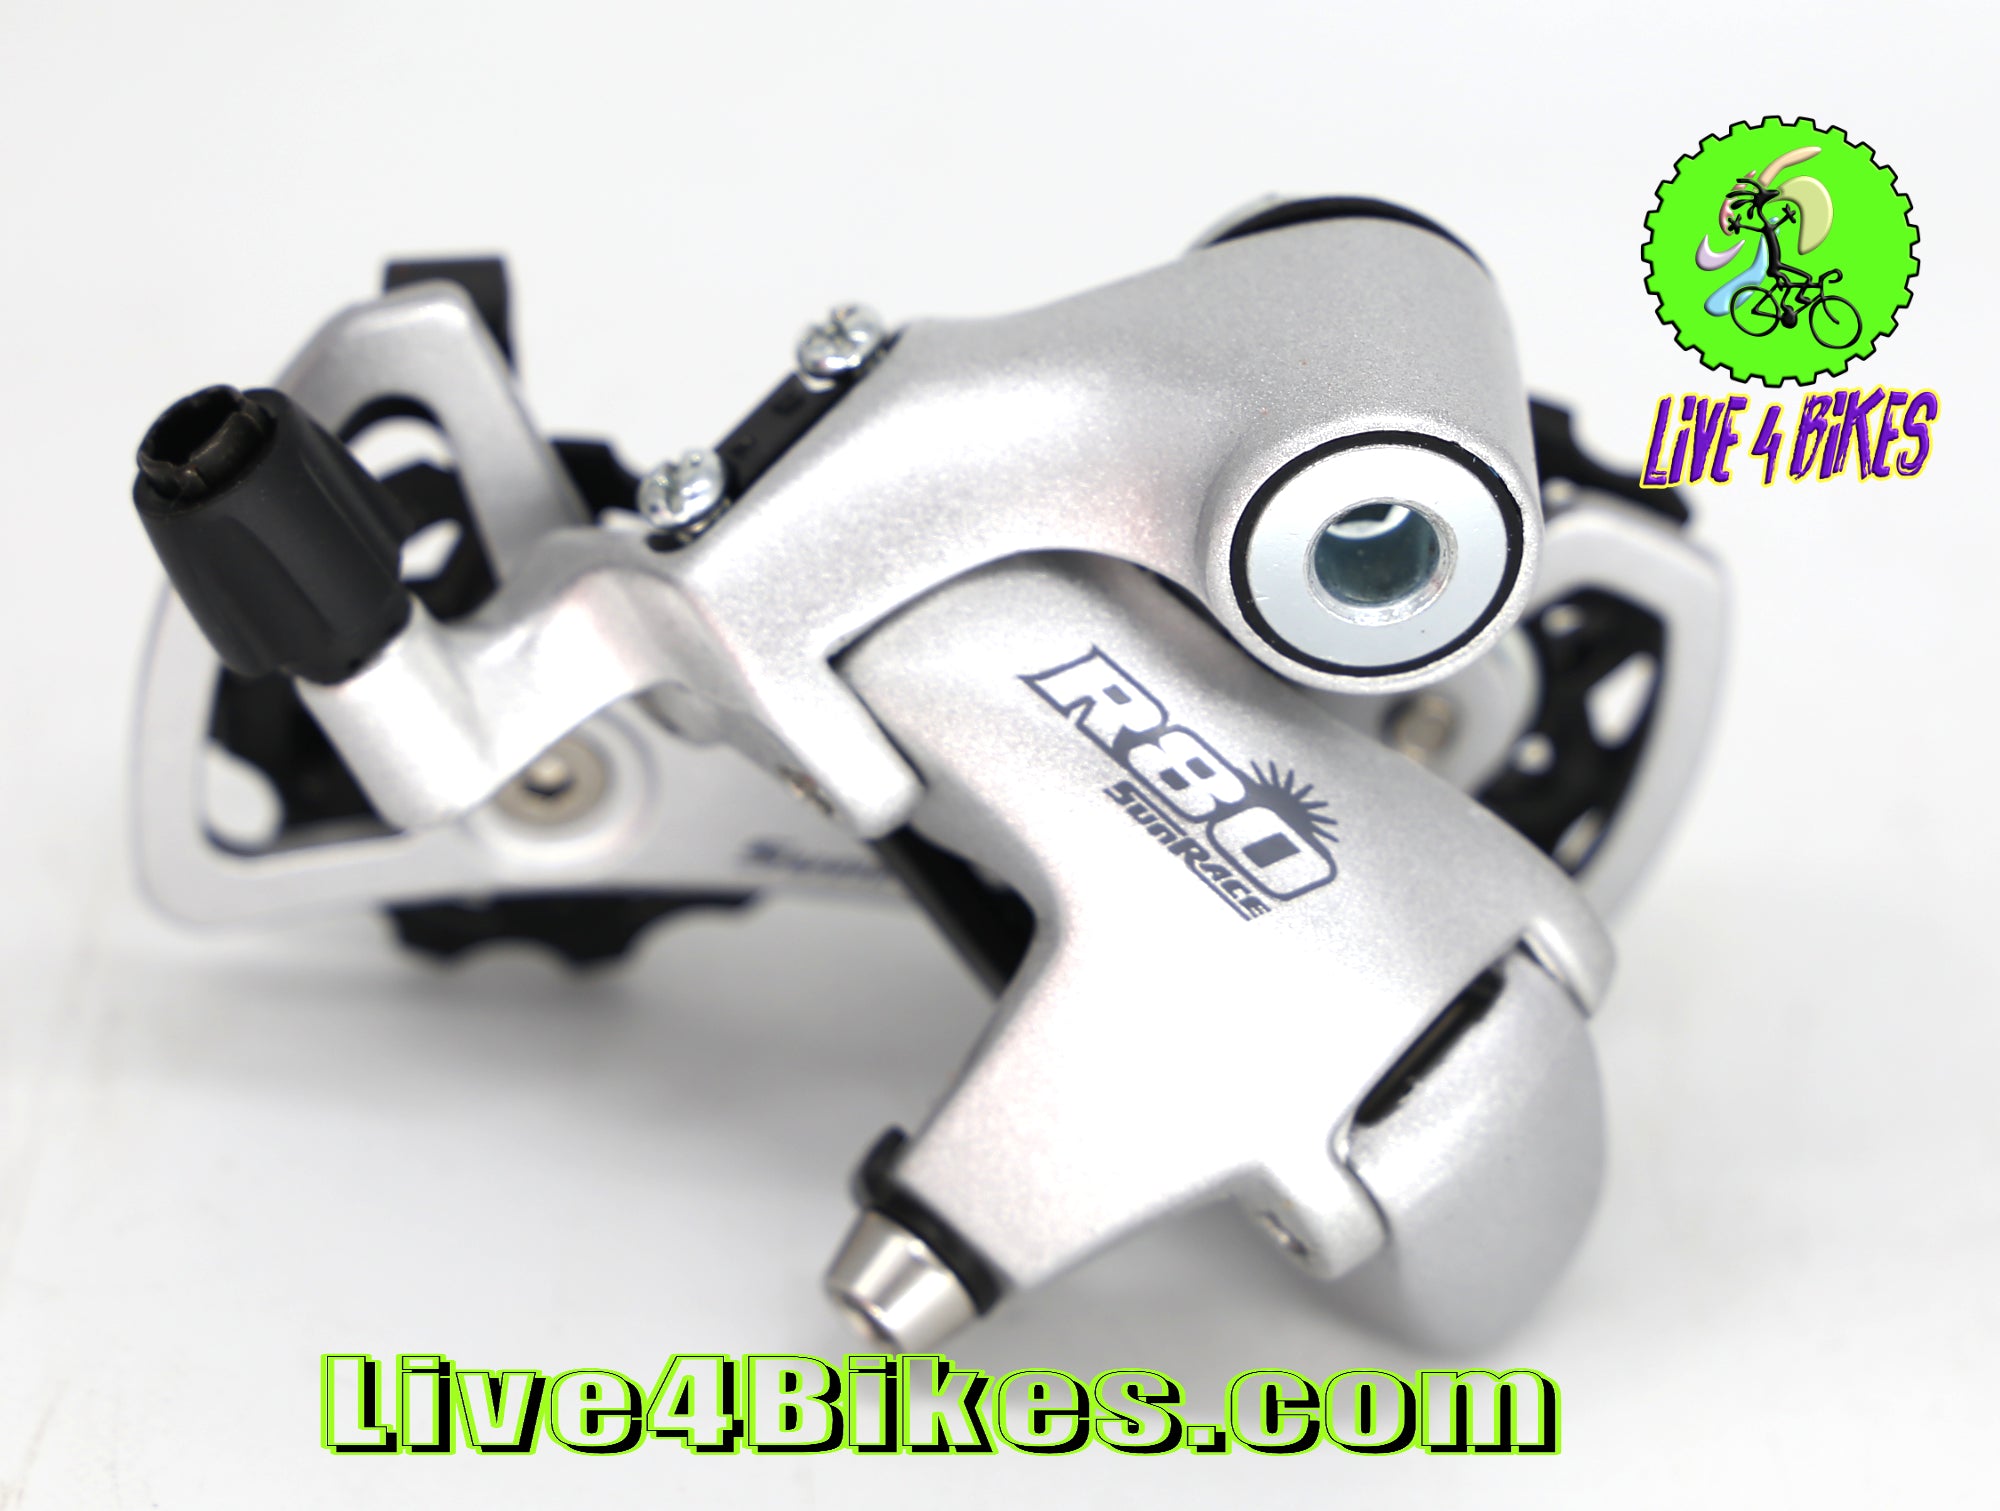
When it comes to enhancing the performance of your road bike, the choice of components plays a crucial role. Among these, the Sunrace R81 rear derailleur stands out as a reliable and versatile option. In this article, we will delve into the specifications and features of the Sunrace R81, a short cage style derailleur designed for road bikes, and highlight its compatibility with Shimano drivetrains.
Specs:
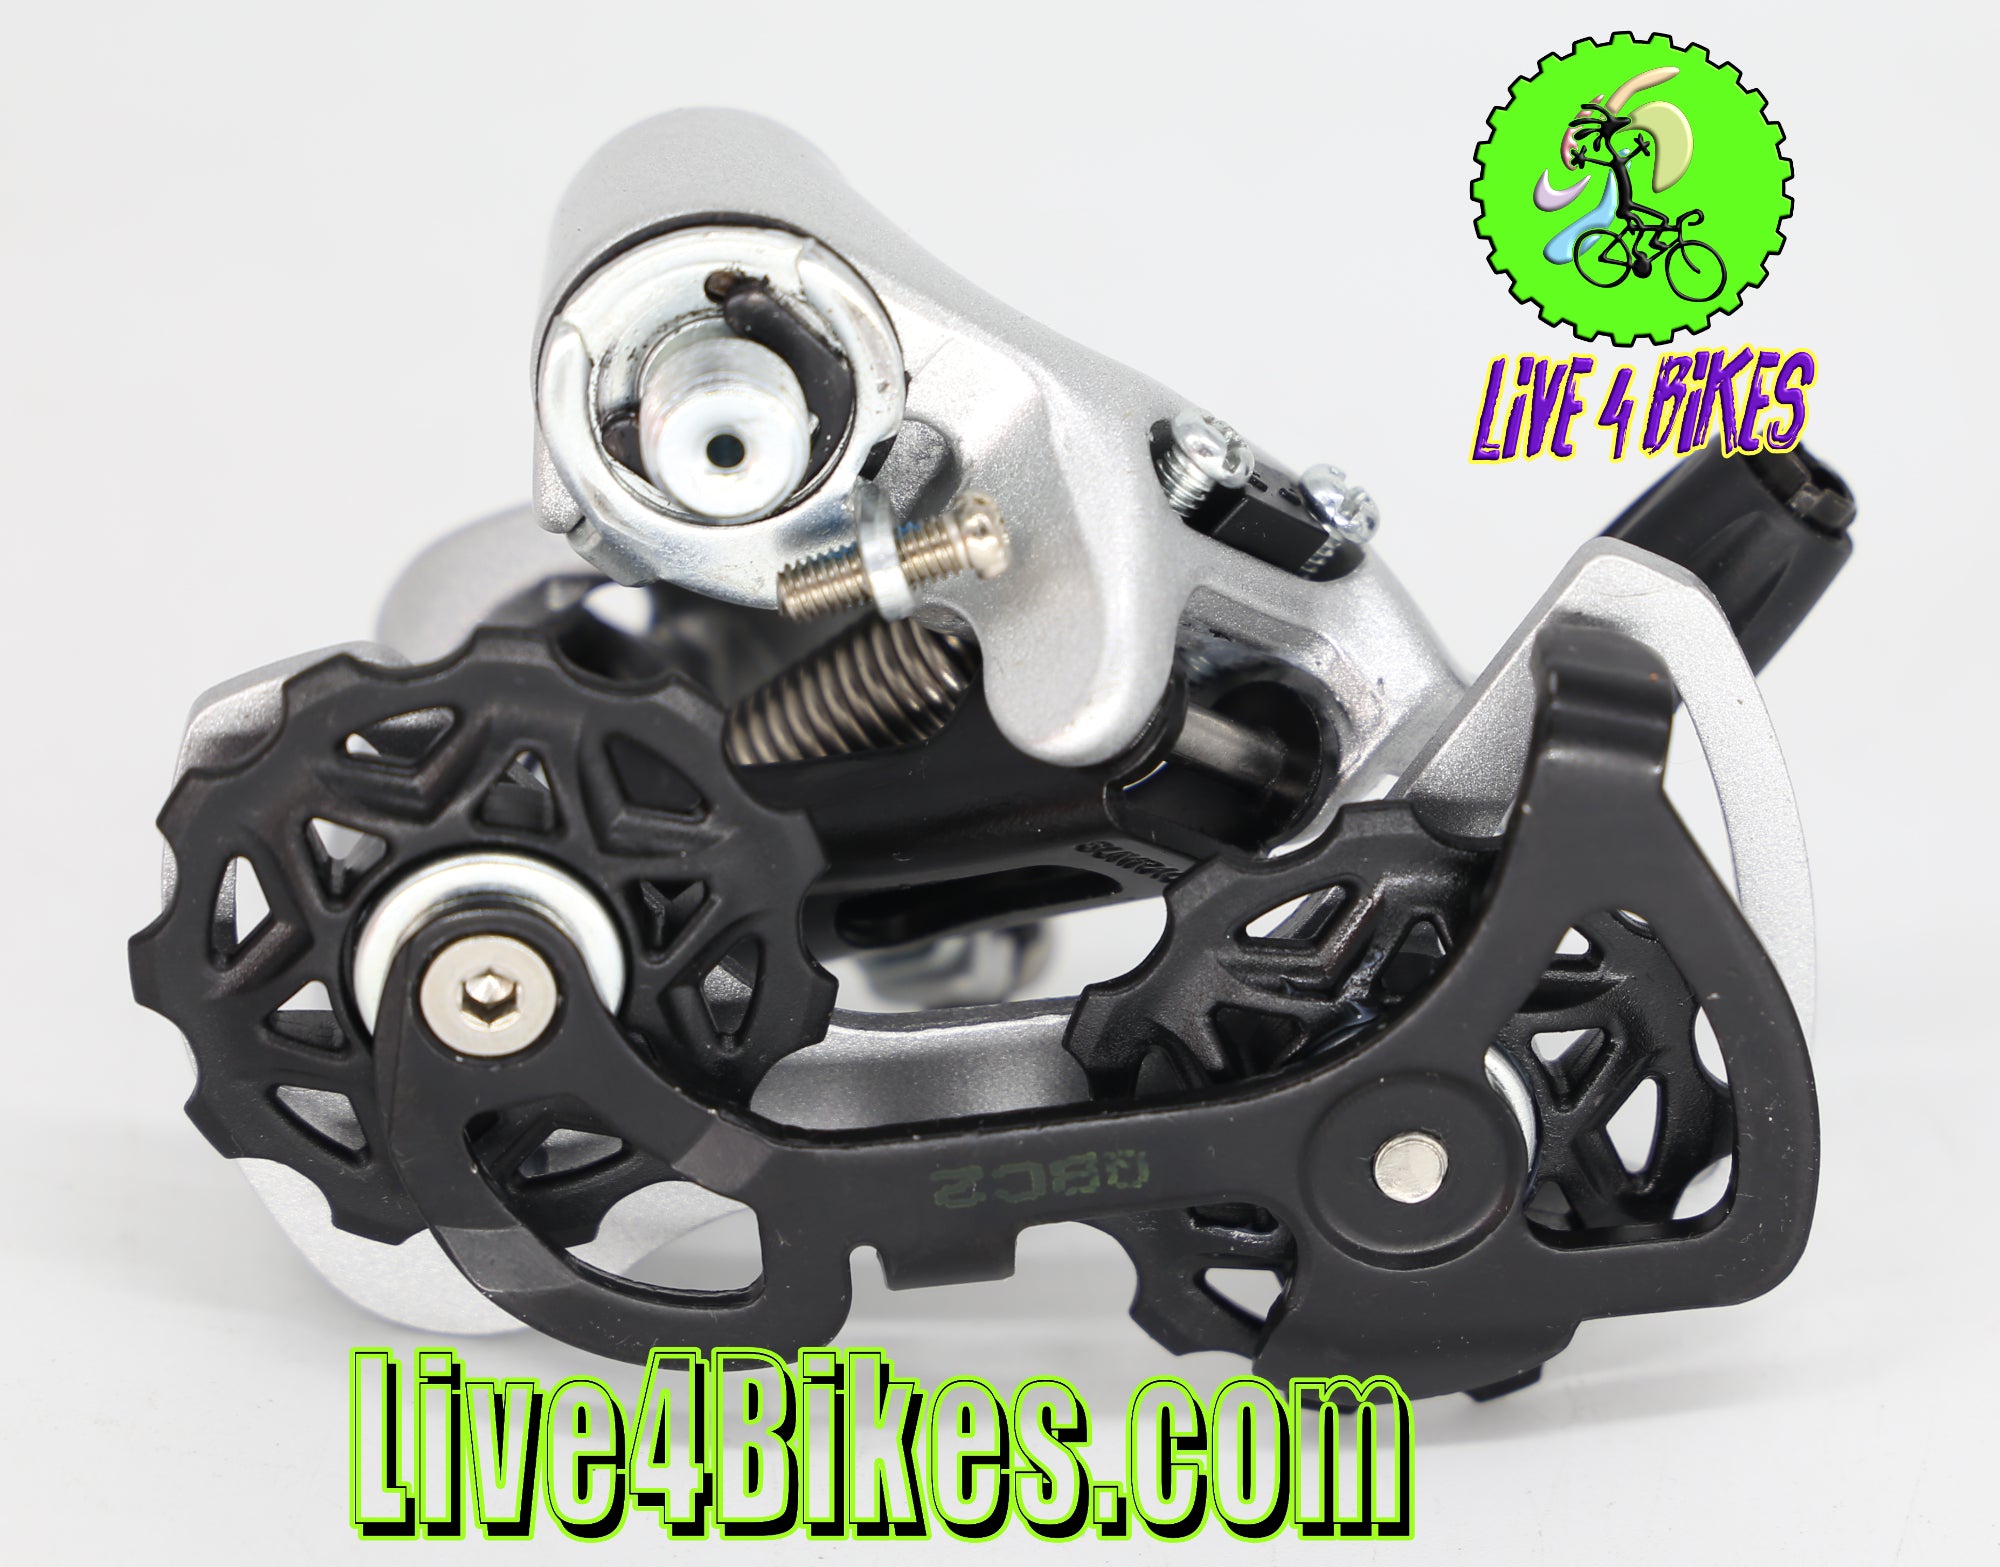
1. Short Cage Style
The Sunrace R81 rear derailleur features a short cage design. This design is particularly popular among road cyclists as it offers precise and rapid shifting in a compact and lightweight package. Short cage derailleurs are ideal for road bikes with a narrower range of gears, such as an 11-28t cassette.
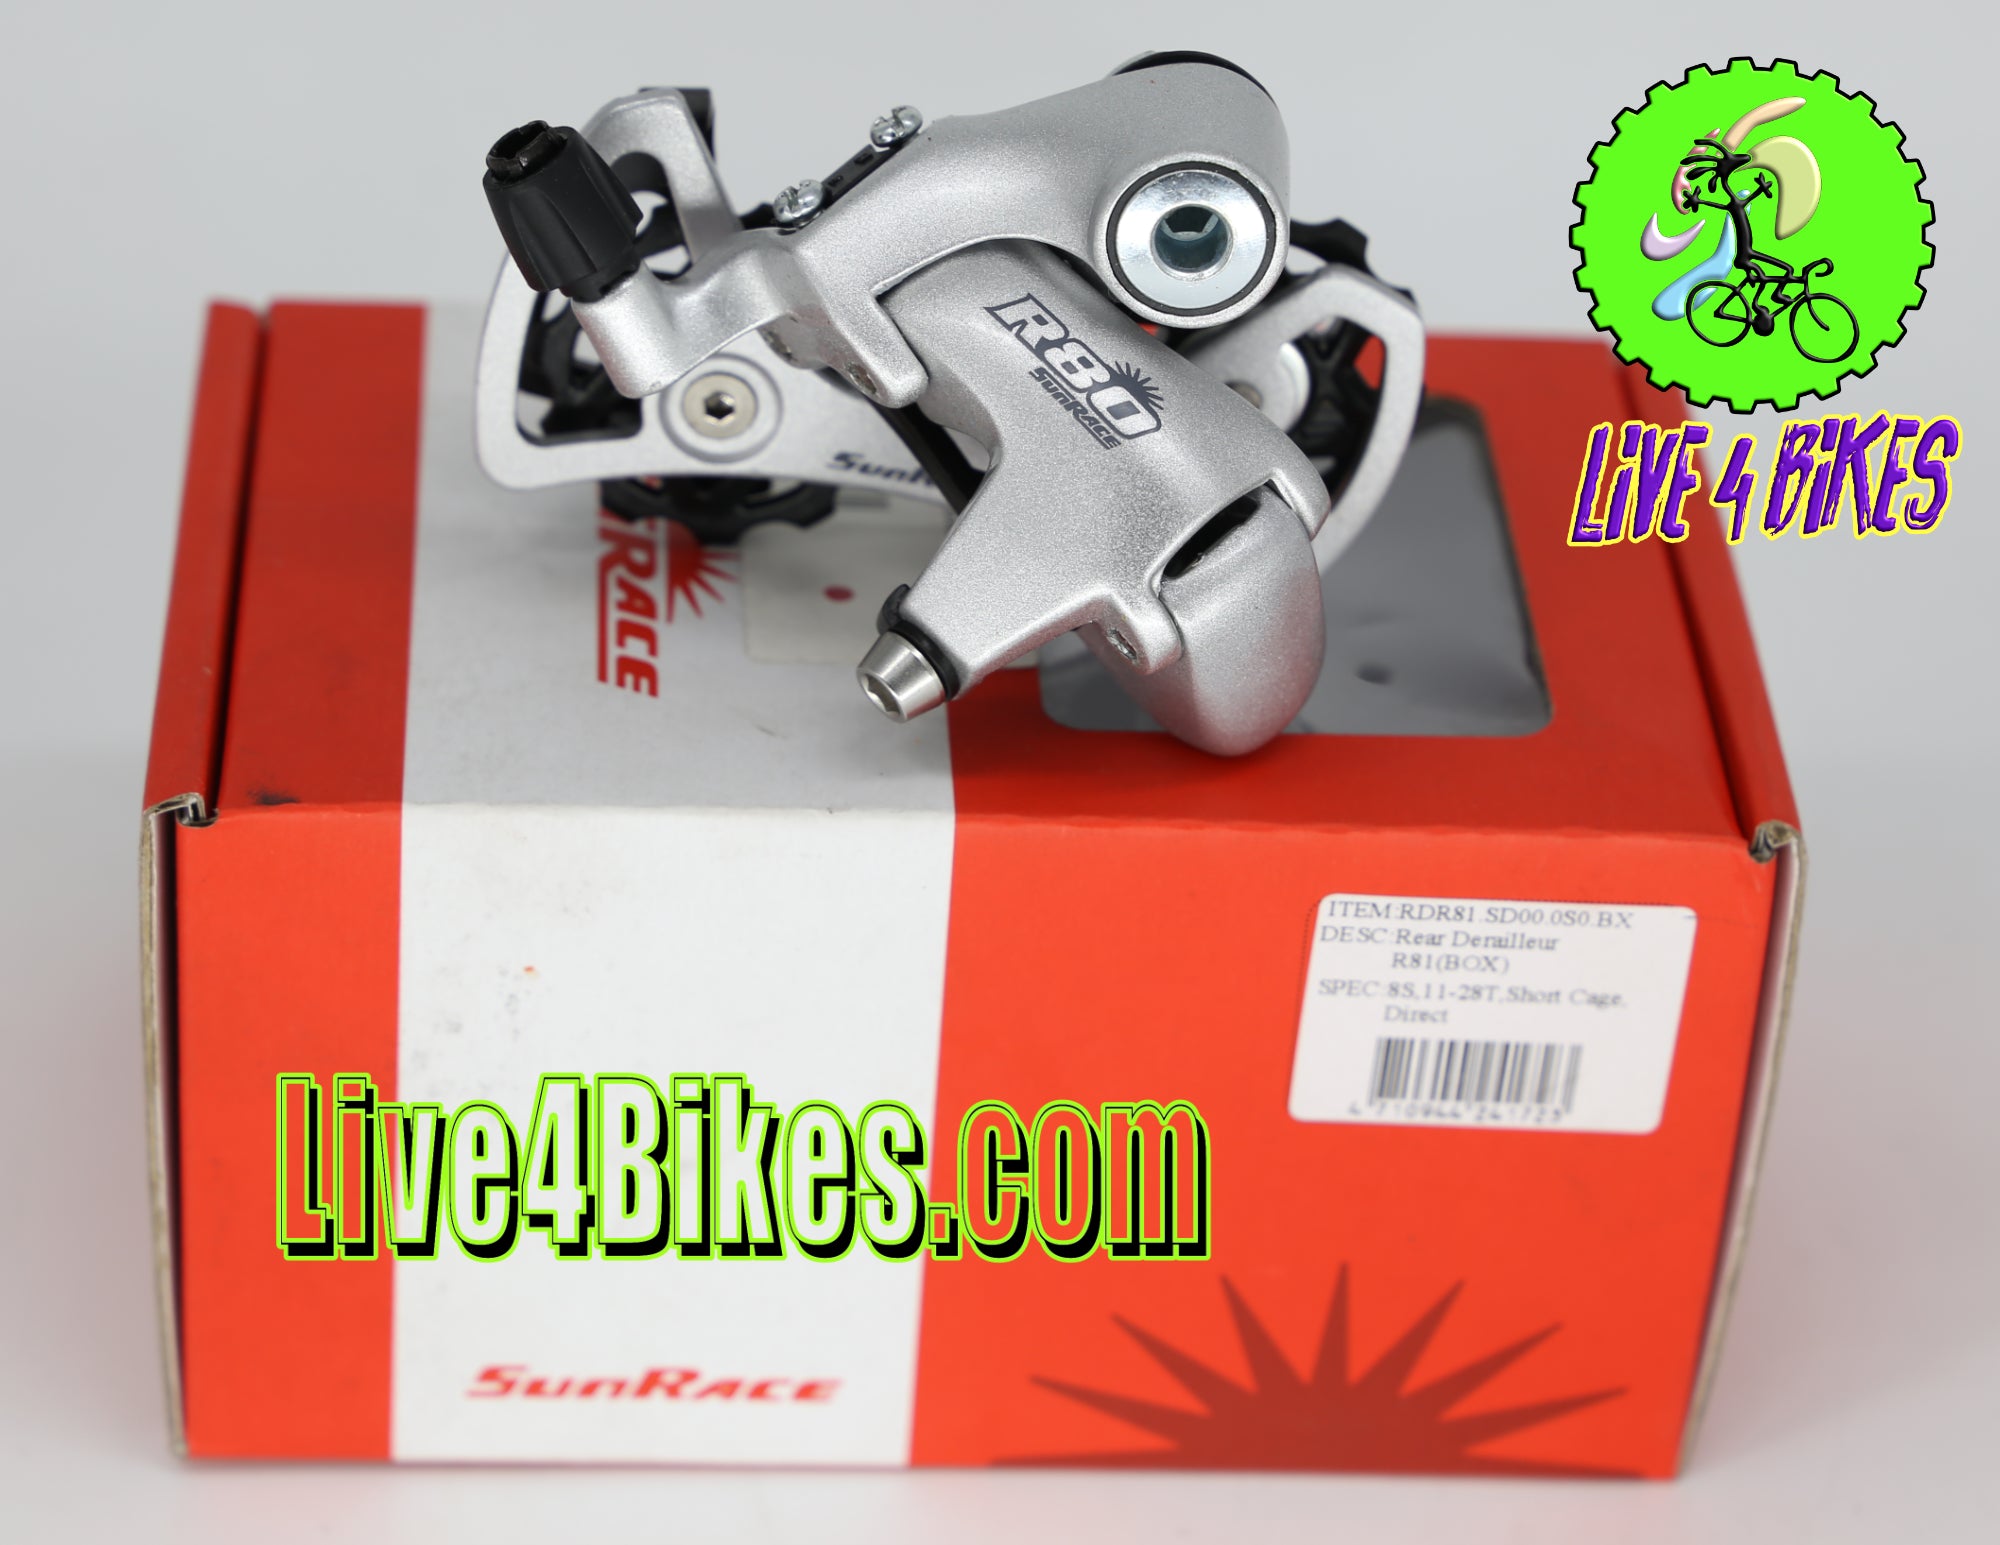
2. Gear Compatibility
The Sunrace R81 is optimized for use with 8 -speed cassettes. Its short cage is designed to handle a cassette range of 11-28t. This means it excels in providing smooth and precise shifting in a setup that is common for road cycling enthusiasts.
3. Road Bike Style
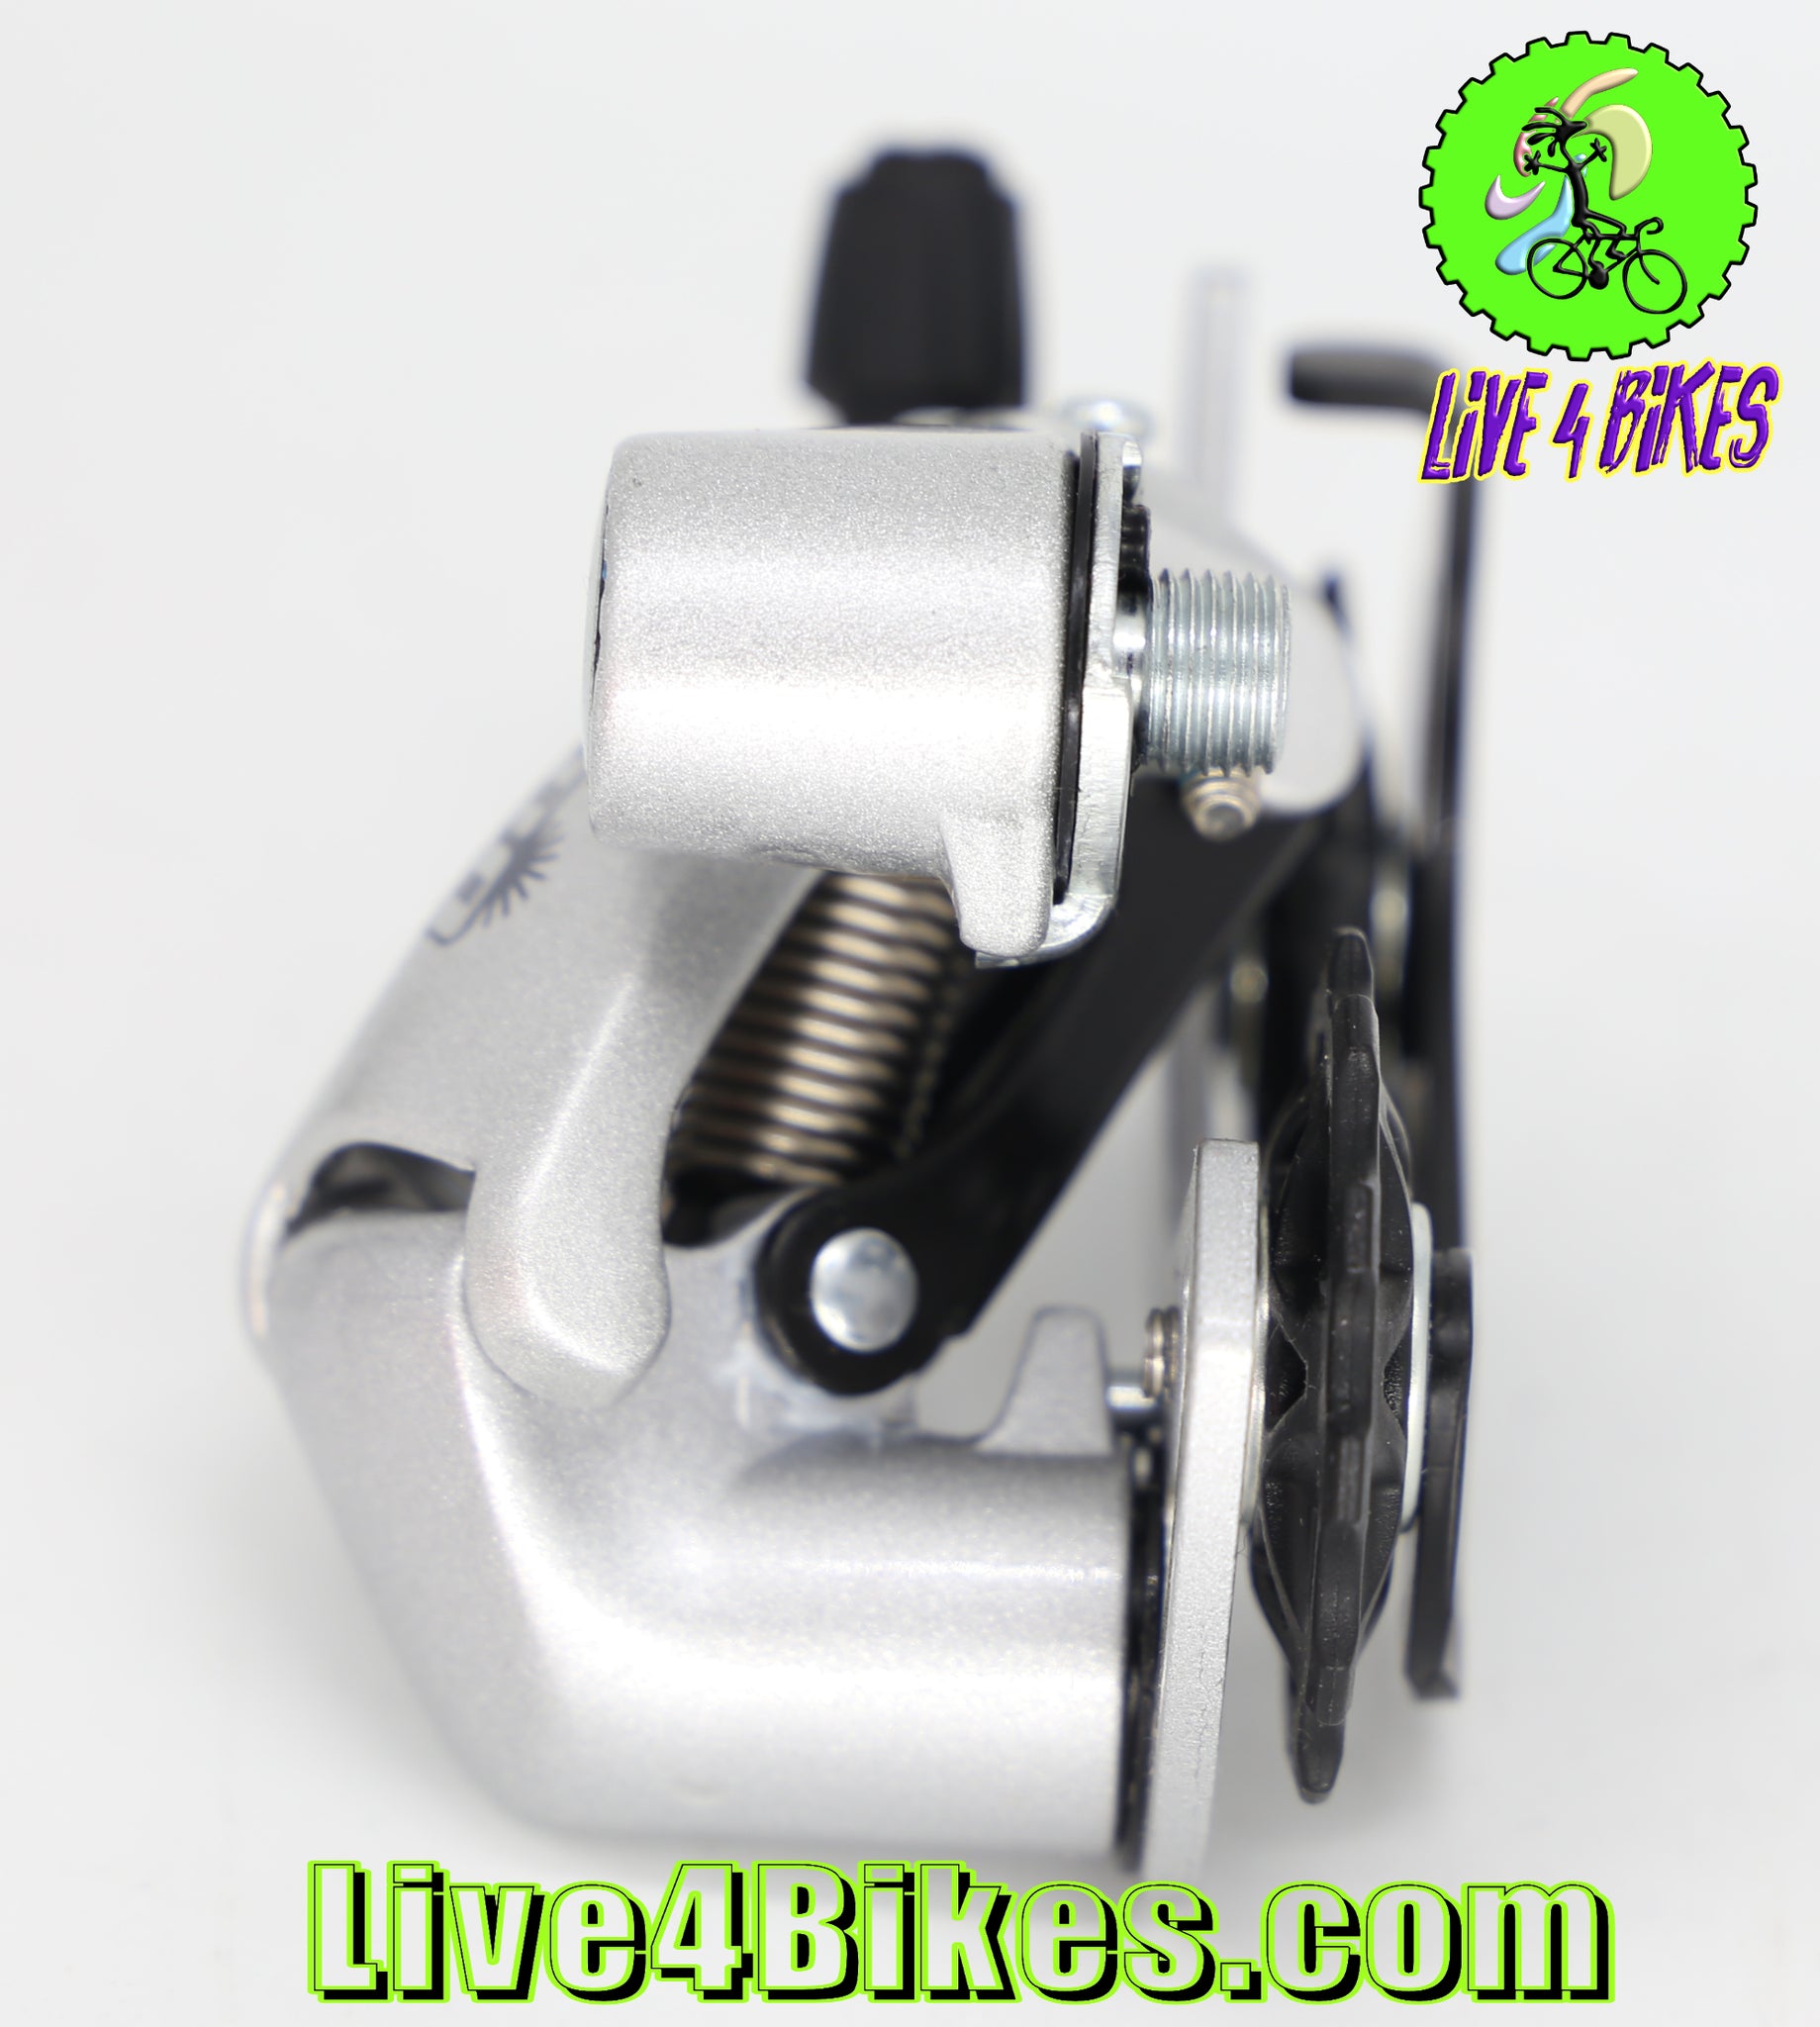
Crafted with road cycling in mind, the Sunrace R81 is engineered to meet the specific demands of road bikes. It offers the performance, precision, and reliability that road cyclists seek in their components. Whether you're tackling steep climbs or sprinting on the flats, this derailleur is designed to deliver consistent performance.
4. Compatibility with Shimano
The Sunrace R81 rear derailleur is Shimano-compatible. This means it can be seamlessly integrated into a Shimano drivetrain system. Whether you have a Shimano groupset or are considering upgrading from a Shimano derailleur, the R81 offers a reliable alternative.
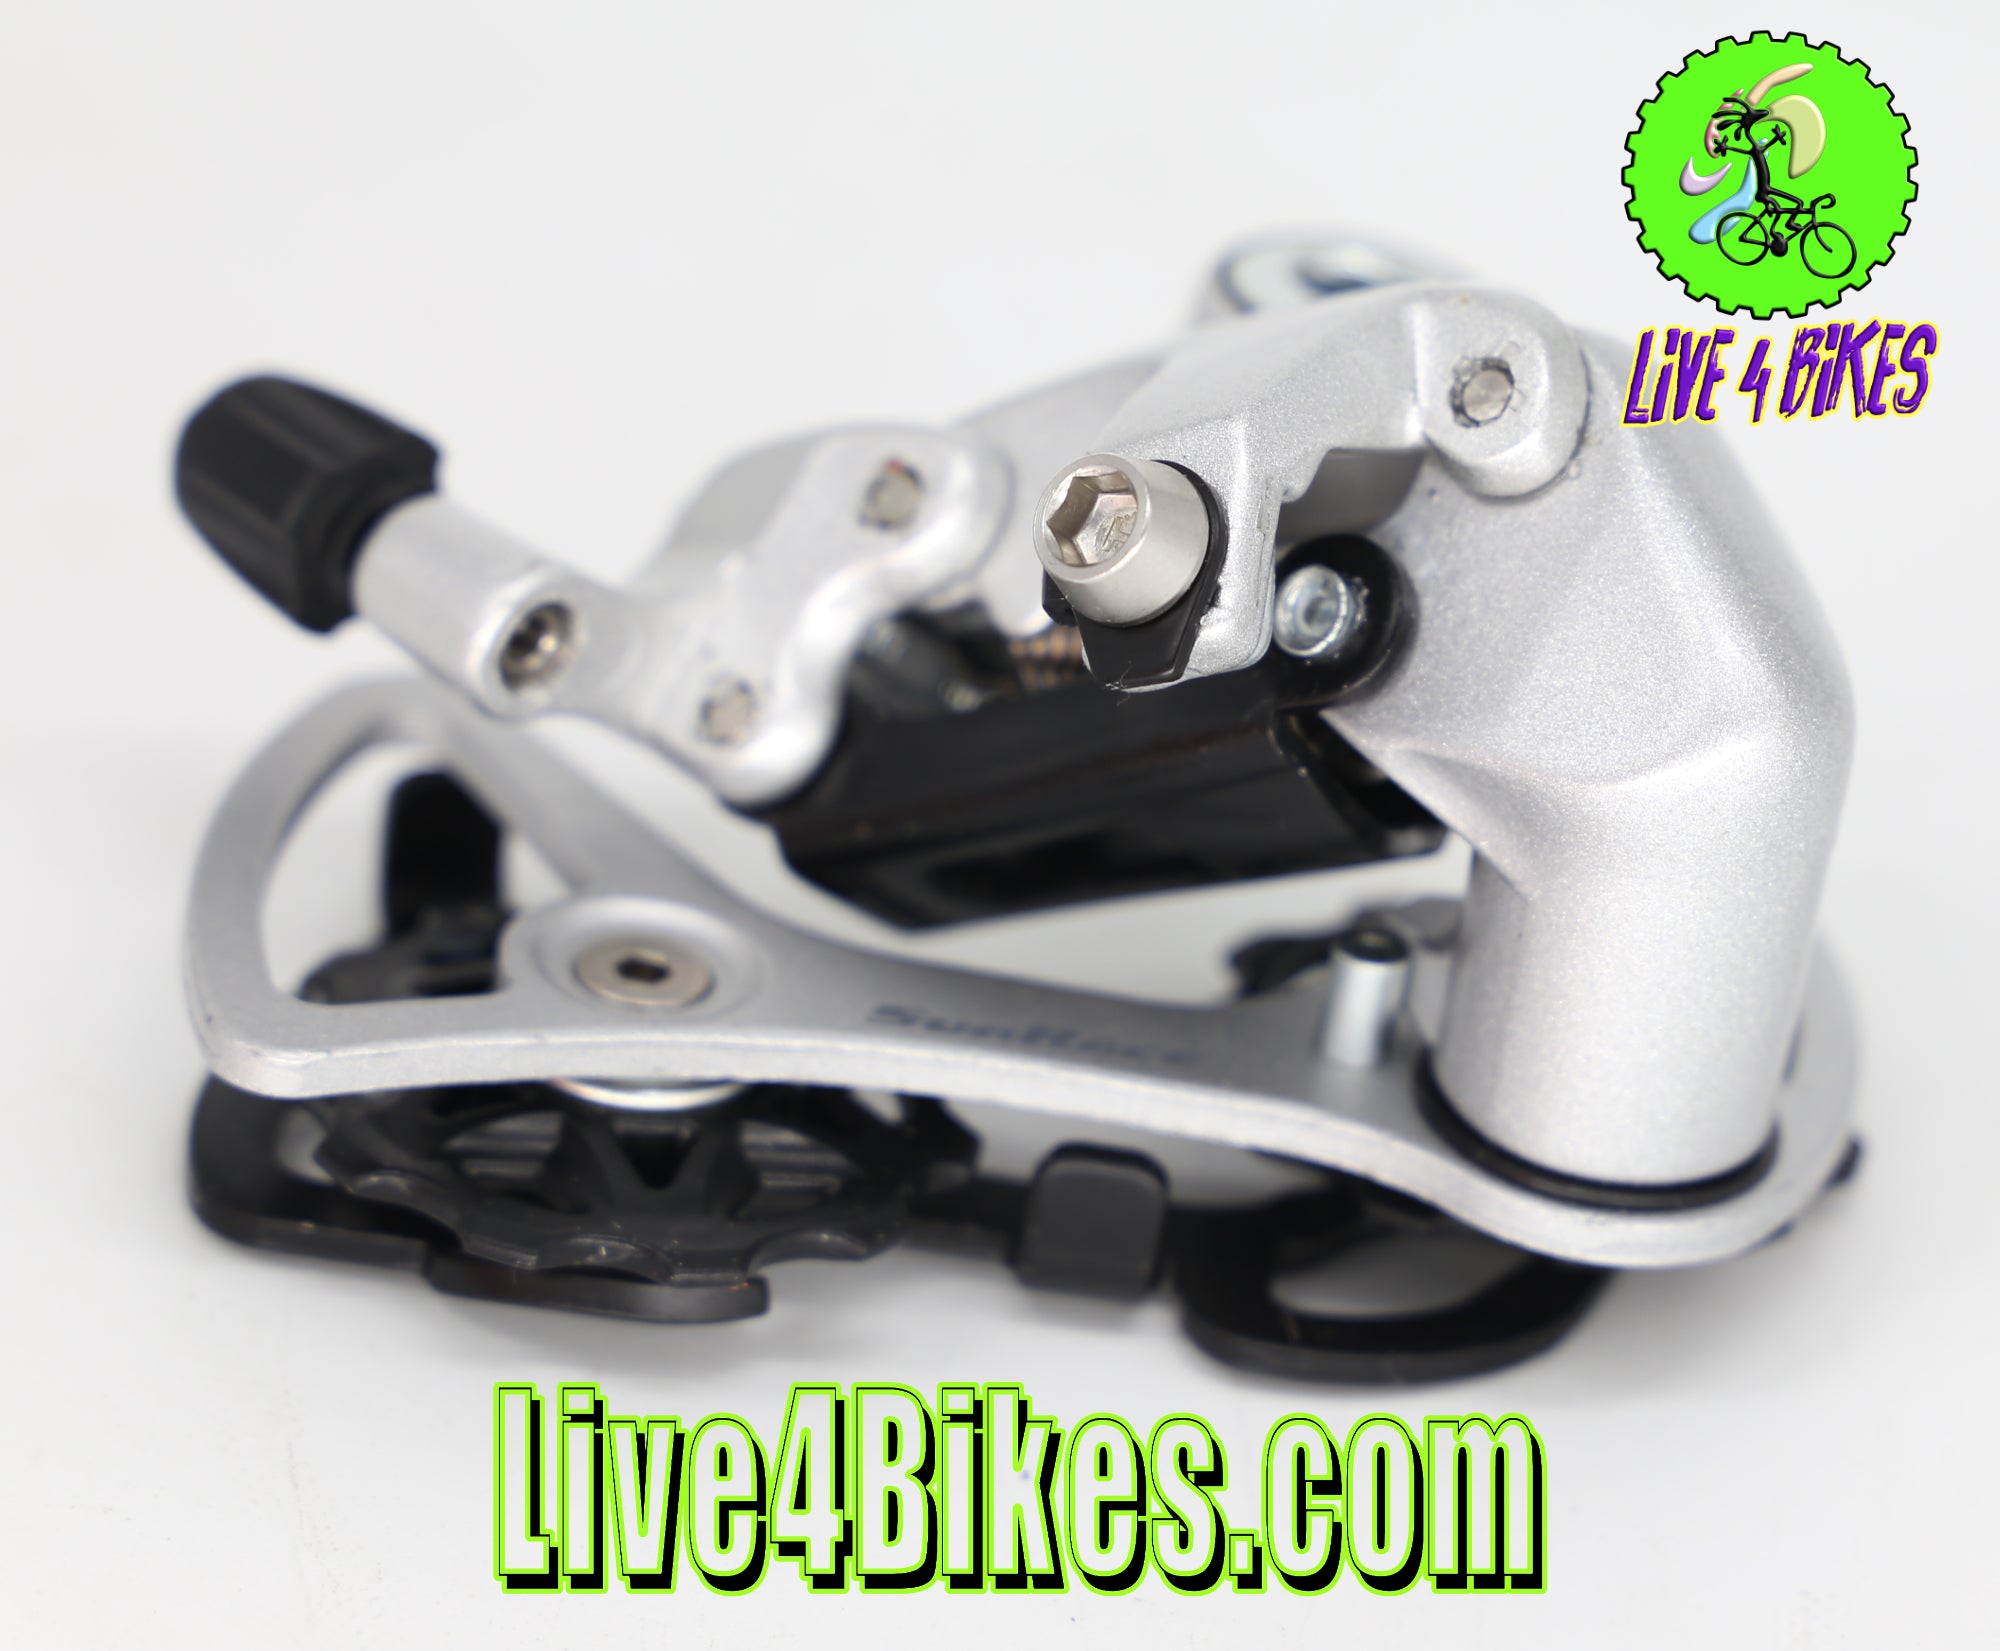
5. Material and Construction
Crafted with durability in mind, the R81 is constructed from high-quality materials. It incorporates robust alloys and precision engineering to ensure that it can withstand the demands of rigorous road cycling.
6. Weight
Weight is a crucial consideration for road cyclists aiming to maximize their performance. The Sunrace R81 is designed with a focus on minimizing weight without compromising durability or functionality. This makes it a suitable choice for riders who are looking to shed grams from their setup.
Conclusion
The Sunrace R81 rear derailleur is a short cage style component tailored for road bike enthusiasts. With its compatibility with 11-speed cassettes, emphasis on lightweight design, and compatibility with Shimano drivetrains, it offers a compelling option for those seeking to enhance their road cycling experience. Whether you're looking to upgrade your current derailleur or planning a new road bike build, the Sunrace R81 deserves serious consideration.
Remember, while a quality derailleur like the Sunrace R81 can significantly enhance your bike's performance, it's crucial to ensure that it is installed and adjusted correctly. Consulting with a professional bike mechanic or referring to Sunrace's official installation guides is recommended to ensure optimal performance and longevity of your components. Happy riding!


![]()
Choosing the Right Bicycle Derailleur: A Comprehensive Guide
Bicycle derailleurs are crucial components that facilitate smooth gear shifting, allowing cyclists to adapt to varying terrains and conditions. Selecting the correct derailleur for your bike is essential for optimal performance and longevity. In this article, we'll delve into the key considerations when choosing a derailleur, including compatibility, gear matching, and brand options.
Compatibility: Shimano vs. SRAM
One of the most critical factors when choosing a derailleur is brand compatibility. Shimano and SRAM, two of the most prominent bicycle component manufacturers, use different derailleur designs and shifting technologies, making them generally incompatible. Attempting to mix these brands can lead to poor shifting performance, potential damage, and safety risks. Therefore, it's crucial to stick with one brand throughout your drivetrain system.
Shimano, Sunrace, and Suntour: Compatible Choices
On the other hand, Shimano, Sunrace, and Suntour derailleurs are generally compatible with one another. This means you have more flexibility in choosing components within this group. You can mix and match derailleurs, shifters, and cassettes from these brands to create a drivetrain that suits your riding style and preferences.
The Importance of Matching Gears
Matching the number of gears between your derailleur, shifter, and cassette is vital for smooth and reliable shifting. For example, if you have an 11-speed cassette, you should use an 11-speed shifter and derailleur. Mismatching gears can lead to poor shifting performance, potential damage to the components, and an overall unsatisfactory riding experience.
![]()
Factors to Consider When Choosing a Derailleur
1. Speed Compatibility**: Ensure that the derailleur is compatible with the number of gears on your cassette. Common options include 7, 8, 9, 10, 11, and 12-speed systems.
2. Mounting Type**: There are two main types of derailleurs - braze-on and clamp. Braze-on derailleurs attach directly to a mount on the frame, while clamp-style derailleurs attach around the seat tube using a band clamp.
3. Cage Length: Derailleurs come in short, medium, and long cage lengths. Short cages are suitable for road bikes and provide crisper shifting on flat terrain, while medium and long cages are designed for mountain bikes and accommodate a wider range of gears.
4. Max Cassette Size: Ensure that the derailleur can accommodate the largest cog on your cassette. This is especially important for mountain bikes, as they often have larger cassettes to tackle steep climbs.
5. Brand Compatibility: Stick with a single brand for all your drivetrain components to ensure optimal compatibility and performance.
Selecting the right derailleur for your bicycle is crucial for a smooth and efficient riding experience. Pay close attention to compatibility between brands, make sure the number of gears matches across components, and consider factors like cage length and cassette size. By taking these considerations into account, you can enjoy a reliable and high-performing drivetrain that suits your riding style and needs.
![]()
Upgrading your bicycle's derailleur can greatly improve its performance and extend its lifespan. However, it's crucial to do this correctly to ensure compatibility with your existing components. In this guide, we'll walk you through the process of upgrading your bicycle derailleur, covering essential considerations and steps.
Things to Consider Before Upgrading
1. Compatibility**:
- Ensure that the new derailleur is compatible with your bike's drivetrain. Consider factors like speed (e.g., 7-speed, 9-speed, 10-speed) and brand compatibility.
2. Mounting Type:
- Determine if your bike uses a direct mount derailleur or one that attaches to a derailleur hanger. This affects the type of derailleur you need to purchase.
3. Cable Pull Ratio:
- Match the cable pull ratio of the new derailleur with the old one. This ratio dictates how much the derailleur moves for a given amount of cable pull.
4. Cassette and Chain Compatibility:
- Ensure that your new derailleur can handle your cassette's range and that it's compatible with your chain. Different speed cassettes may require specific derailleurs.
5. Derailleur Cage Length:
- Choose the correct cage length based on your cassette size. Short cages are suitable for smaller cassettes, while long cages accommodate larger ones.
6. Tools:
- Gather necessary tools, including Allen wrenches, a cable cutter, a chain tool, and a derailleur hanger alignment tool (if needed).
Step-by-Step Guide
1. Prepare Your Bike:
- Clean the drivetrain and surrounding areas to ensure a smooth installation process.
2. Remove the Old Derailleur:
- Shift the chain onto the smallest chainring and smallest rear cog.
- Use an Allen wrench to remove the derailleur from the derailleur hanger or mount.
3. Install the New Derailleur:
- Attach the new derailleur to the hanger or mount. Ensure it's aligned properly.
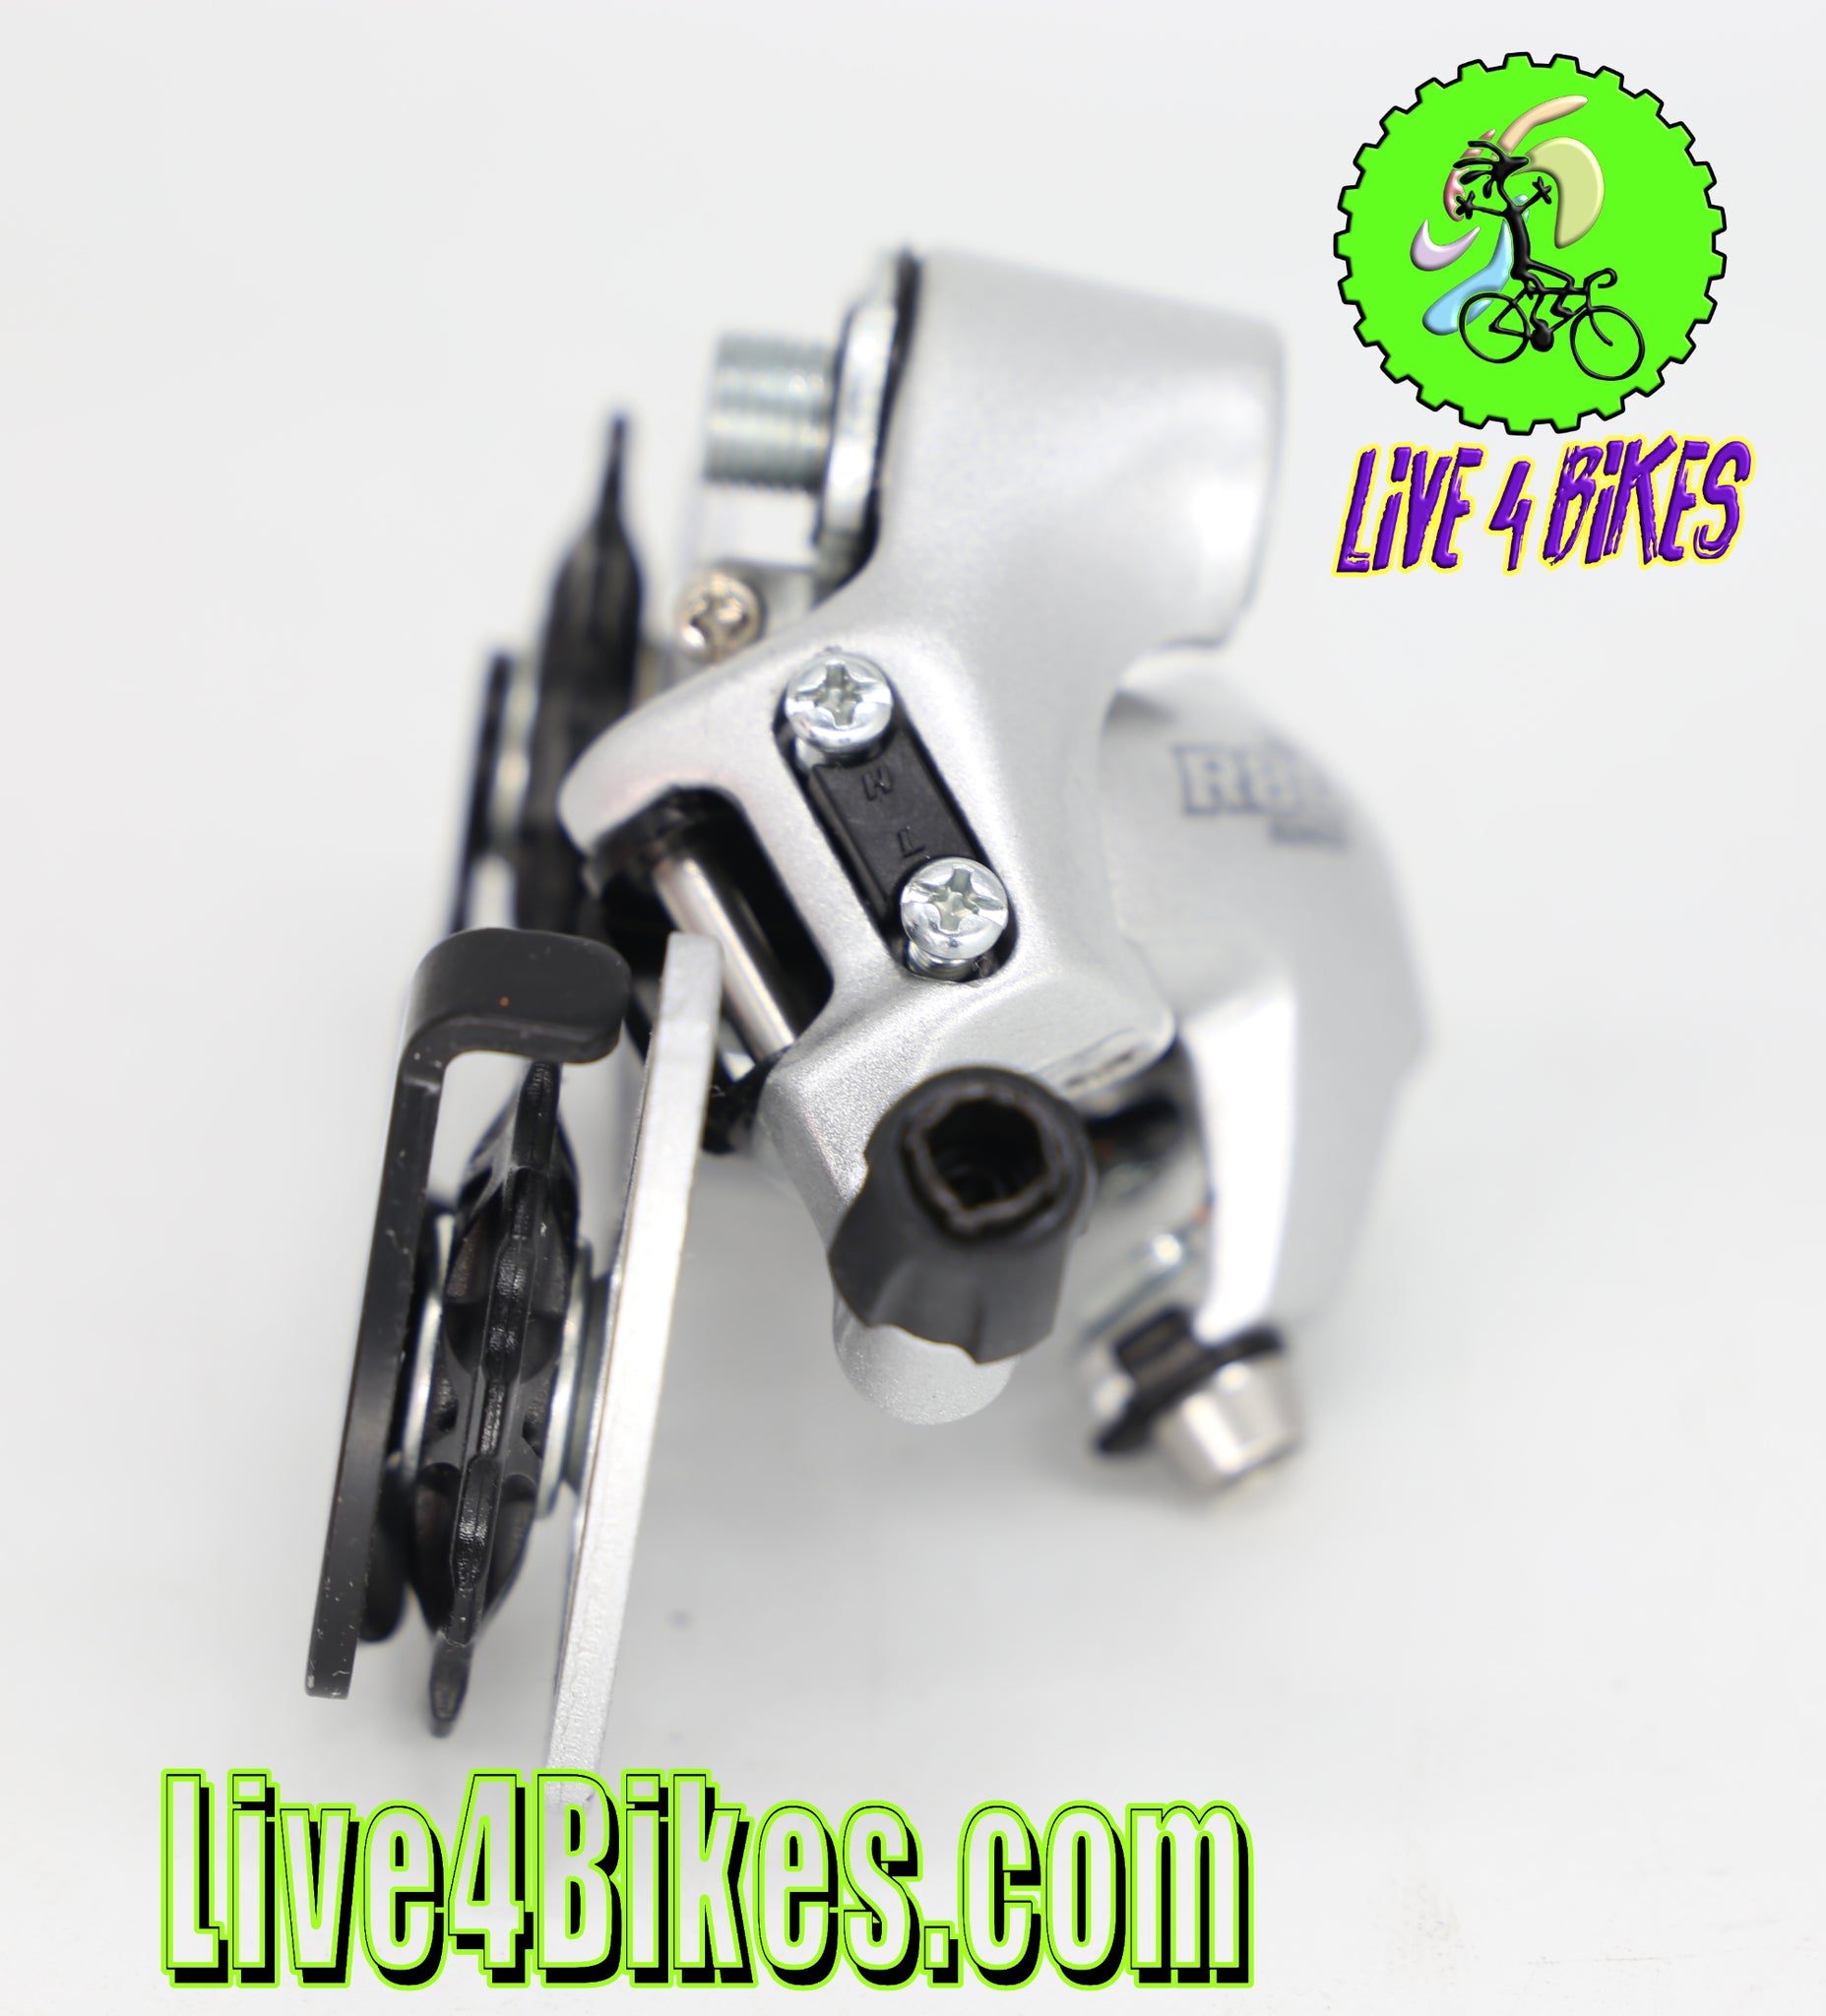
4. Adjust the H-Limits:
- Set the high (H) and low (L) limit screws to prevent the chain from falling off. Use the barrel adjuster to fine-tune.
5. Install the Chain:
- If you're replacing the chain, feed it through the derailleur and use a chain tool to connect the ends.
6. Set the Cable Tension:
- Attach the cable to the derailleur, ensuring it's properly seated in the pinch bolt. Pull the cable tight and secure it.
7. Fine-Tune Shifting:
- Shift through all gears to ensure smooth transitions. Adjust the barrel adjuster as needed.
8. Check Derailleur Alignment:
- Use a derailleur hanger alignment tool to verify that the hanger is straight. Misalignment can cause shifting issues.
9. Test Ride and Make Further Adjustments:
- Take your bike for a short ride, testing shifting under load. If necessary, make additional adjustments to achieve optimal performance.
Upgrading your bicycle's derailleur can significantly enhance your riding experience. By considering compatibility, using the right tools, and following these steps, you can ensure a smooth and successful upgrade. Remember to take your time, double-check all connections, and test thoroughly before hitting the road. Enjoy the improved performance of your upgraded derailleur!